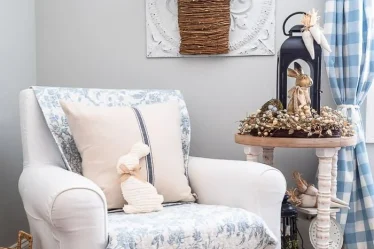

Learning how to decorate Easter eggs can be fun, simple, and surprisingly creative, even if things get a little messy along the way. From classic dyeing and natural colors made with ingredients from your kitchen to modern patterns and elegant finishes, there are plenty of easy ways to create beautiful Easter eggs without fancy supplies. Decorating eggs has always been one of those activities that brings people together, whether you’re doing it with family, friends, or kids eagerly waiting to dip their eggs into colorful dye.

There is something wonderfully nostalgic about sitting down to decorate Easter eggs. The eggs don’t have to be perfect because the real fun comes from experimenting, laughing at the occasional decorating mistake, and creating memories together. This guide covers traditional dyeing, natural egg colors, creative patterns, simple finishes, and easy display ideas, along with practical tips to help you avoid common decorating disasters and make your Easter eggs look festive, colorful, and beautifully arranged.
Supplies You’ll Actually Use (And What You Can Skip)
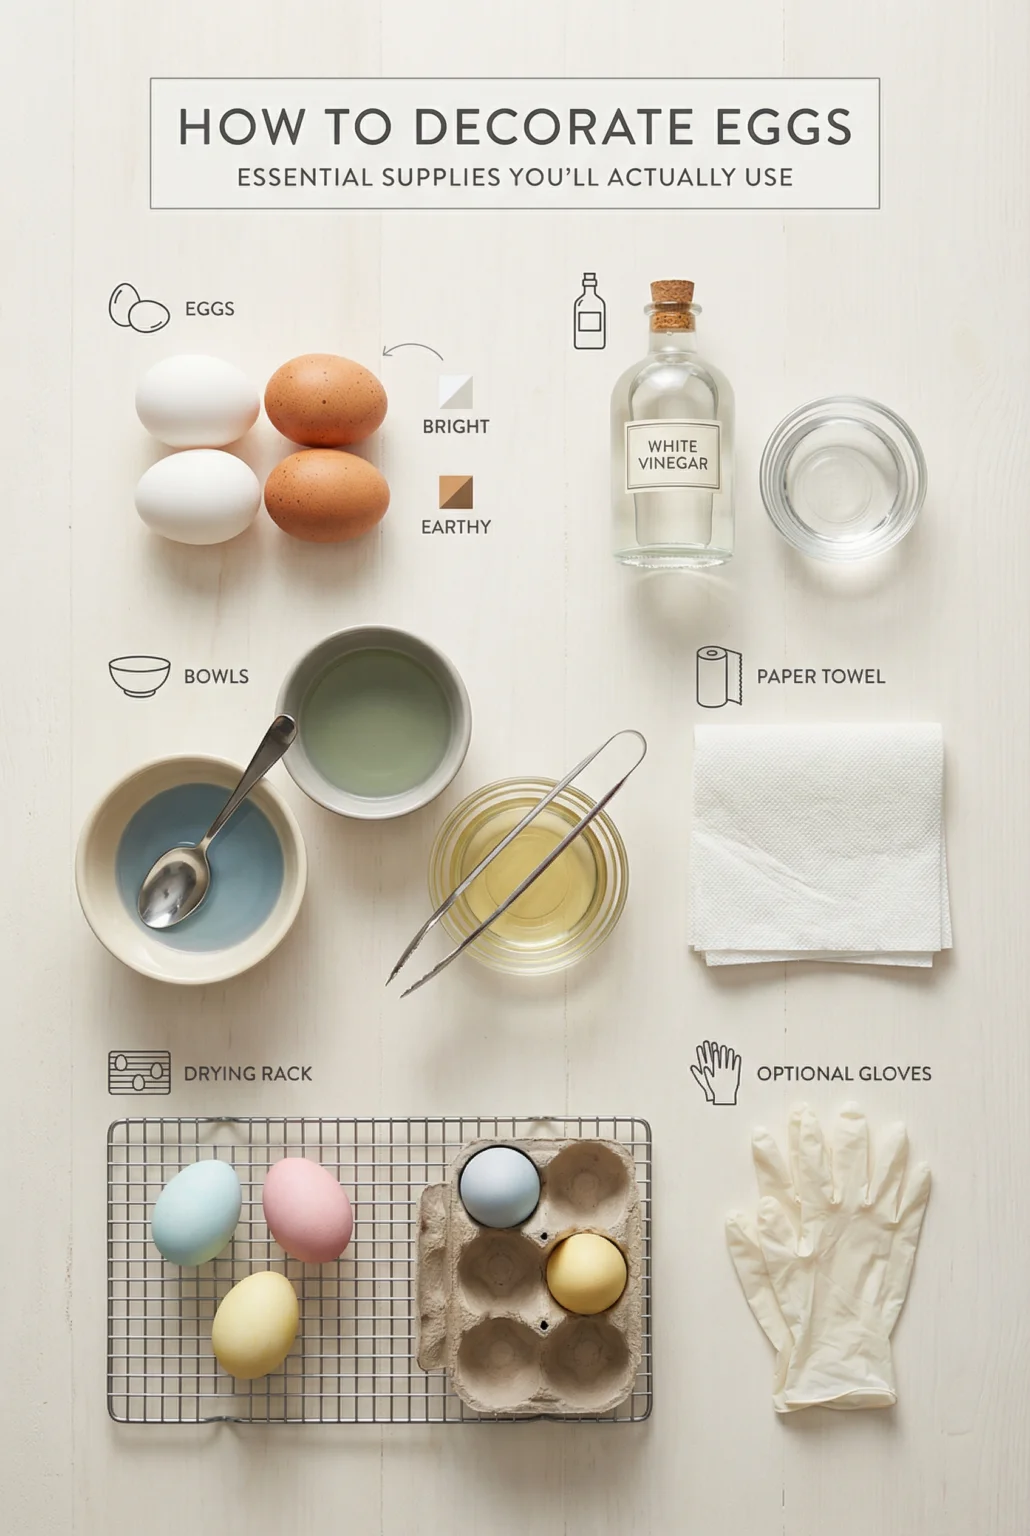
Before getting started, gather only the basics. You don’t need a huge collection of supplies to create beautiful Easter eggs.
White eggs are great for bright, vibrant colors, while brown eggs create warmer, more natural shades. You’ll also need white vinegar, small bowls or cups, spoons or tongs, paper towels, and a drying rack or empty egg carton. If you want to avoid stained fingers, keep a pair of gloves nearby.
Optional but Helpful
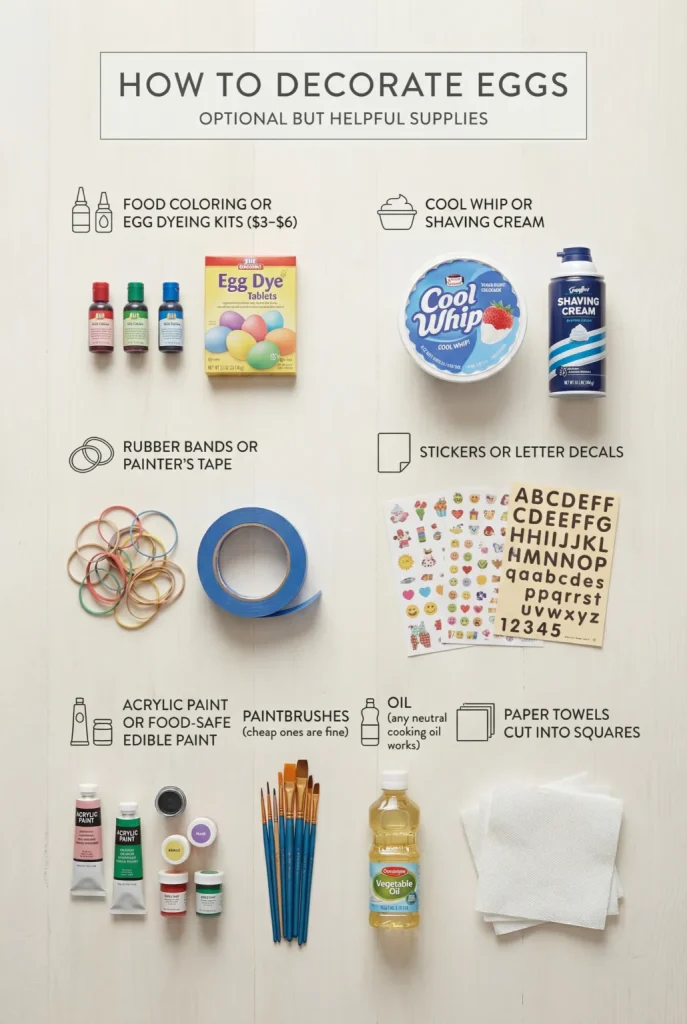
You can also keep a few extra supplies on hand if you want to experiment with different Easter egg decorating techniques. Food coloring, egg dye kits, Cool Whip or shaving cream, rubber bands, painter’s tape, stickers, letter decals, acrylic or food-safe paint, inexpensive paintbrushes, neutral cooking oil, and paper towels cut into smaller squares can all come in handy. Most of these items are probably already in your kitchen or craft drawer, and anything missing can usually be found at a grocery, dollar, or craft store. Specialty Easter egg decorating supplies are only necessary if you want to try something more elaborate.
Quick Safety Note
If you plan to eat your decorated eggs, stick with materials that are specifically food-safe. Keep dyed eggs refrigerated, and avoid eating eggs that have been left at room temperature for more than two hours.
How to Prep Eggs for Decorating (This Matters More Than You Think)
Egg preparation may not be the most exciting part, but it can make decorating much easier. Starting with properly cooked eggs helps prevent cracked shells and gives you a sturdy surface for dye, paint, stickers, and other decorations.
Do You Hard Boil Eggs to Decorate?
Yes, hard-boiled eggs are the best choice if you plan to eat them afterward. For decorations that will only be displayed, you can instead use hollowed-out eggs or artificial eggs.
How Long Do You Boil Eggs for Easter Decorating?
Place the eggs in a saucepan in a single layer and cover them with cold water by about an inch. Bring the water to a full boil, then turn off the heat, cover the pan, and let the eggs sit for about 10 to 12 minutes. Move them directly into an ice bath to cool. This method produces firm whites and yolks while helping prevent the green ring that can sometimes appear around the yolk.
Cold Water or Boiling Water First?
Start with cold water rather than placing the eggs directly into boiling water. This allows them to heat gradually, which can help reduce cracking and promote more even cooking.
The 5-5-5 Rule Explained
The 5-5-5 method involves boiling the eggs for five minutes, letting them sit covered for five minutes, and then cooling them in an ice bath for another five minutes. While this can work, larger eggs may need additional cooking time. For decorating, a slightly longer cooking period is usually more reliable.
The 3-3-3 Method
The 3-3-3 method uses shorter cooking and cooling periods. Although it can save time, the eggs may have softer centers and more delicate shells, making them less convenient for decorating.
Warm Eggs or Cold Eggs for Dyeing?
The temperature of your eggs can affect the final color. Warm eggs generally take on dye more quickly and evenly, while chilled eggs tend to produce softer, lighter shades. Choose whichever works best for the finish you want.
White Eggs vs Brown Eggs
White eggs are ideal when you want bright, vibrant Easter colors because the dye shows up clearly on the shell. Brown eggs create softer, warmer, and more earthy shades. Neither option is better—they simply create different looks.
Natural and Food-Safe Dyes
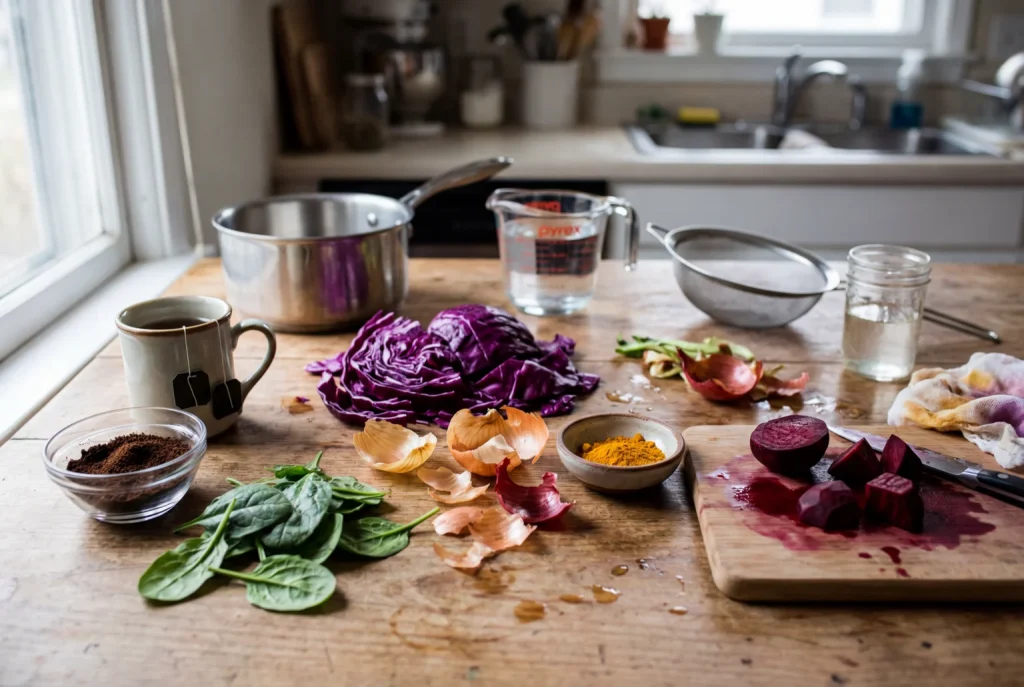
Natural egg dyeing is a fun way to create beautiful Easter eggs using ingredients you may already have in your kitchen. The results can be a little unpredictable because the final shade depends on the type of egg, ingredient concentration, temperature, and soaking time. Still, the soft, earthy colors can be especially beautiful.
Cool Whip Method (Marbled Without Stress)

The Cool Whip method is an easy way to create soft, colorful marble patterns without needing complicated tools. Spread Cool Whip in a shallow dish, add small drops of food coloring, and gently swirl the colors together. Roll the egg through the mixture, let it rest for about 10 to 15 minutes, and then rinse it carefully. The result is a dreamy marbled Easter egg with very little effort.
Paper Towel Dyeing
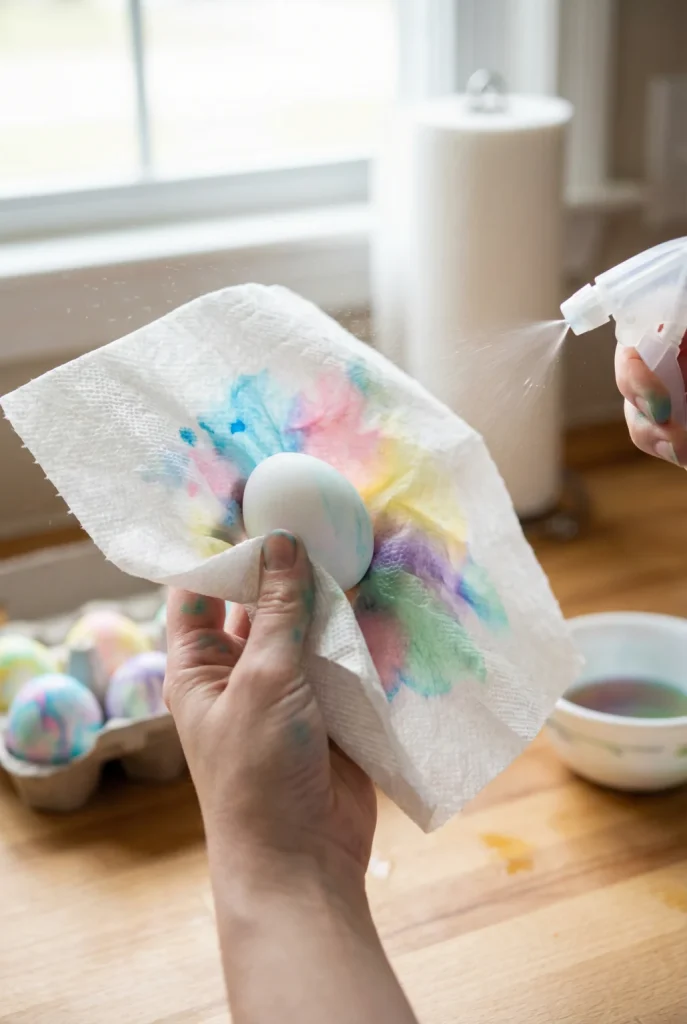
Paper towel dyeing is especially fun for kids because the technique is simple and the results are always different. Wrap an egg in a paper towel, add drops of several food colors, lightly mist the towel with water, and let the colors soak in. Slowly unwrap the egg once the dye has set to reveal a colorful, blended pattern.
Sticker and Tape Resist Designs
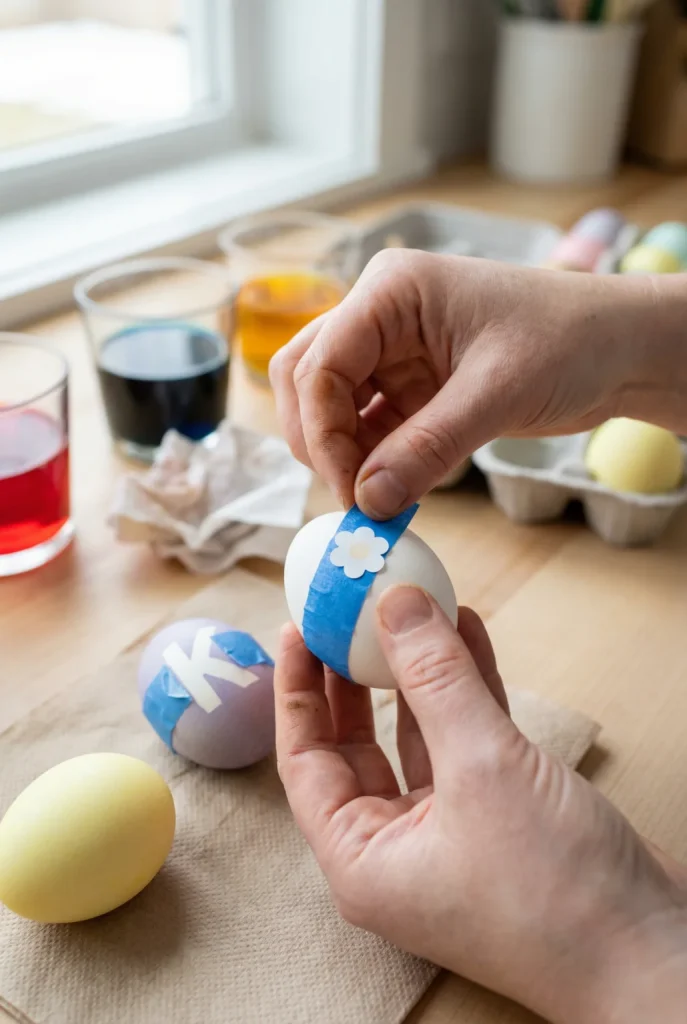
Stickers and painter’s tape can create clean shapes, stripes, letters, and simple patterns. Place the stickers or tape on the egg before dyeing it, then remove them once the color has dried. The covered areas remain lighter, creating an easy resist effect that works especially well for minimalist designs and personalized names.
Marker and Doodle Designs
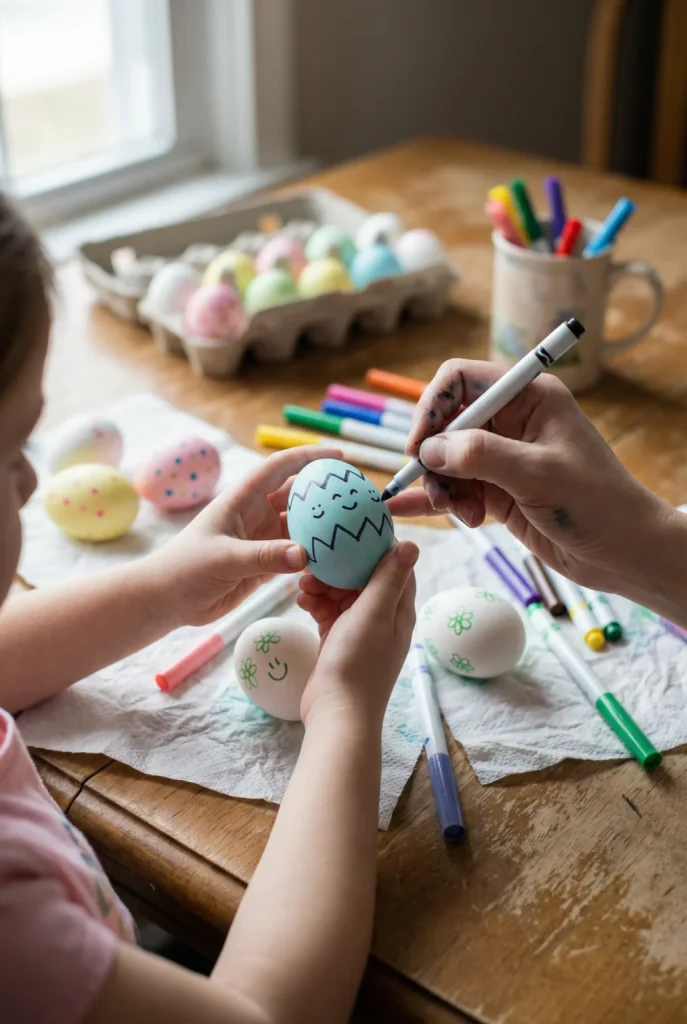
Food-safe markers can turn plain or dyed eggs into personalized little works of art. Draw flowers, faces, patterns, names, dots, or other simple designs directly onto the shell. This is another decorating idea that lets children get creative, and extra details can always be added after the first layer dries.
Painting Easter Eggs

If you want your Easter eggs to look a little more artistic, decorative finishes can add texture, contrast, and personality. Speckles, swirls, metallic details, and foil effects can make even simple dyed eggs feel more special.
Speckled Eggs

Create a speckled effect by dipping an old toothbrush or stiff paintbrush into diluted food-safe coloring or edible paint and gently flicking it over the egg. Start with a small amount of color and build up the pattern gradually. A lighter touch usually creates a more natural-looking finish.
Marbling with Oil
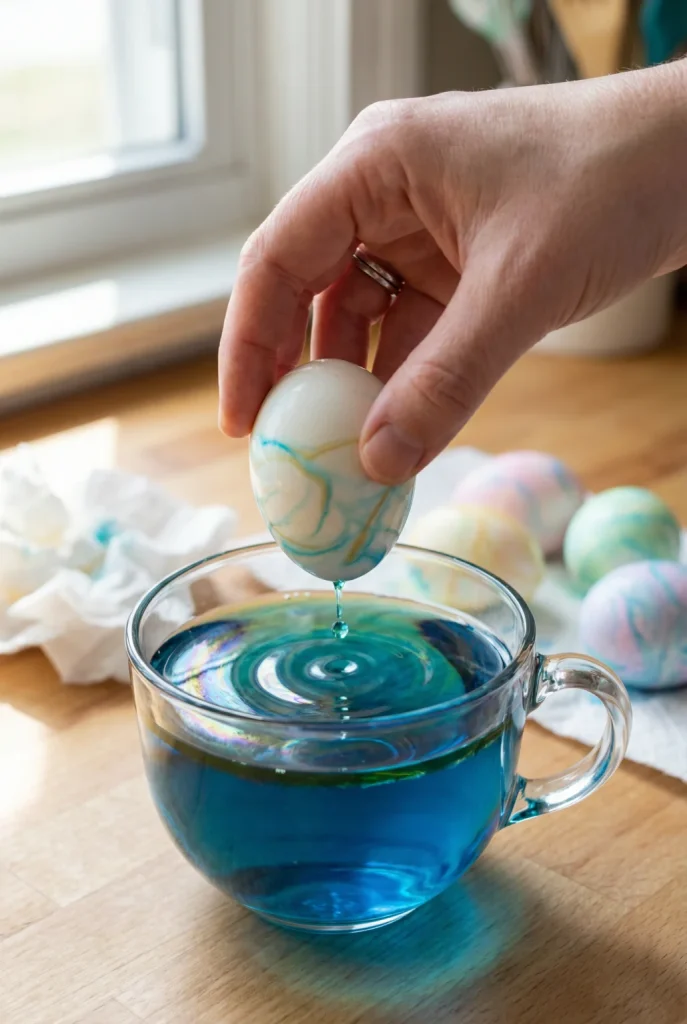
Oil can create a beautiful marbled effect when combined with an egg dye bath. Add a small amount of neutral cooking oil to the dye, gently swirl the egg through the mixture, and remove it after a short dip. Avoid leaving the egg in too long, as the colors can blend together and become muddy.
Metallic Accents
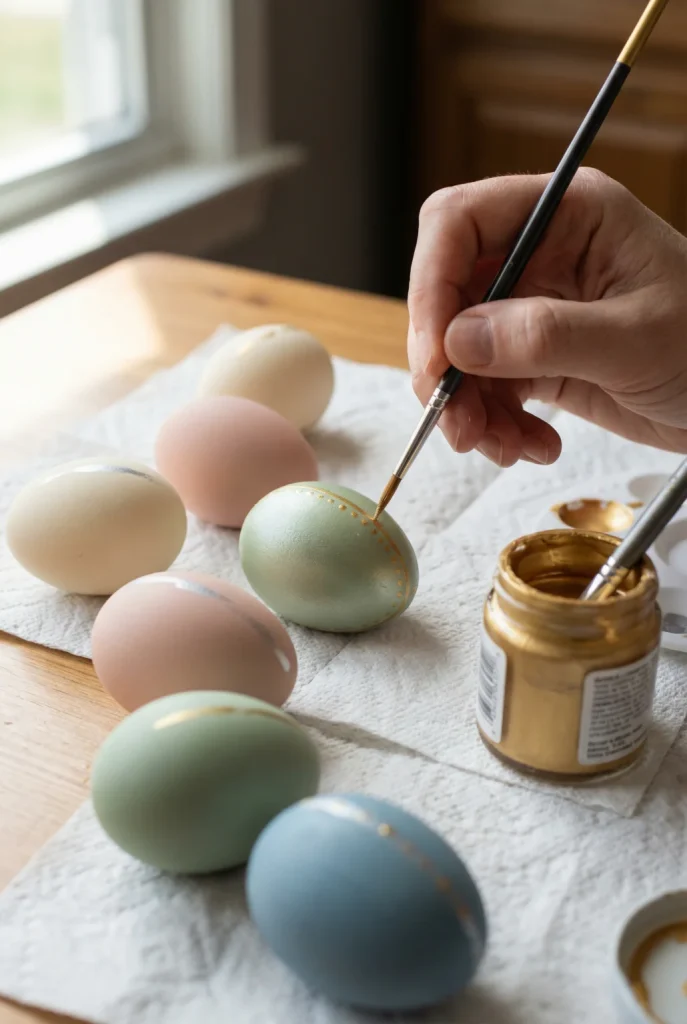
For edible eggs, use only food-safe metallic decorating products. Small dots, delicate lines, or accents around the edges can add a subtle shine without overwhelming the original color. Keep the metallic details simple for a polished finish.
Gold or Silver Foil Look

For decorative eggs, craft foil can create an elegant gold or silver finish. Apply a suitable adhesive to small areas of the egg, gently press the foil into place, and smooth it carefully. This technique works best on eggs intended for decoration rather than eating.
Glitter Finishes
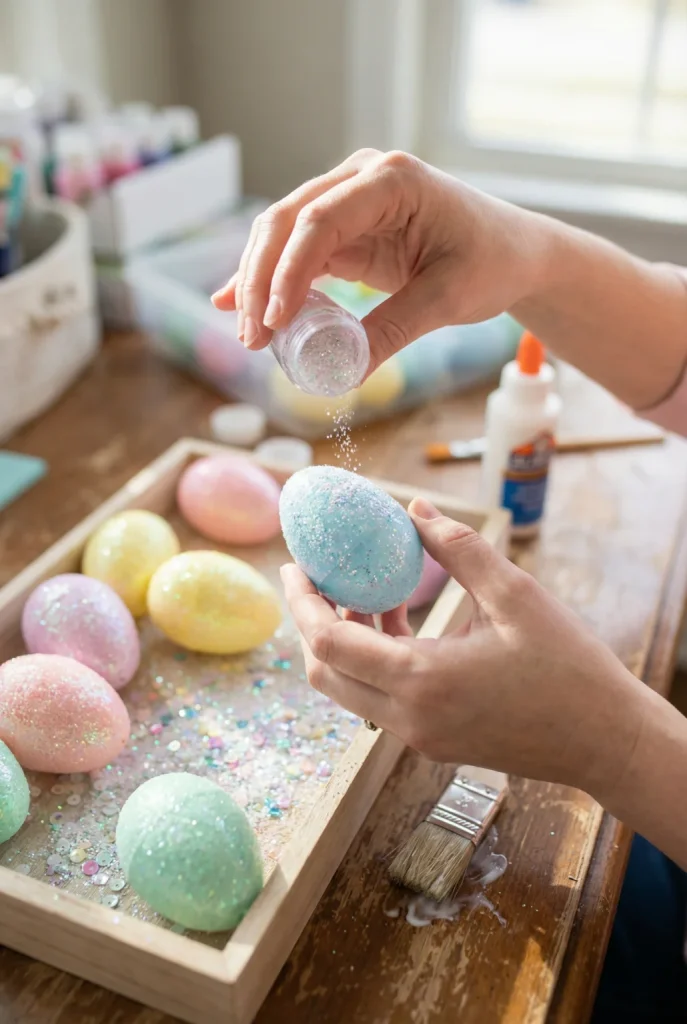
Glitter can add sparkle to hollow, faux, or decorative eggs. For real eggs that will be eaten, avoid craft glitter and use only edible glitter or food-safe decorating products. For display pieces, regular craft glitter can create a fun, festive finish.