You’re trying to figure out master bathroom layouts that make sense for everyday life, not just layouts that look beautiful in photos. I’m breaking down practical ways to arrange the shower, tub, vanity, and toilet so your bathroom feels organized, comfortable, and easy to use.

You want a bathroom that works in the morning rush, handles everyday clutter, and still feels relaxing at the end of the day.
You probably have plenty of saved bathroom photos but still aren’t sure where the toilet should go, whether a huge shower is actually worth the space, or if removing the tub could affect your home’s future appeal. That’s exactly what we’re sorting out here.
In this guide, I’ll cover three important things:
- Different master bathroom layouts, including who they work best for and their biggest advantages and drawbacks.
- Practical spacing guidelines to help you create a bathroom that feels comfortable instead of cramped.
- An easy way to narrow down your options so you can choose a layout without endlessly second-guessing yourself.
Think of this as a relaxed planning session where we’re sketching ideas, measuring the room, and figuring out what will actually work for your home.
Table of Contents [show]
Pick Your Layout In 60 Seconds
Before getting into all the details, you should be able to get a general idea of which bathroom layout fits your needs.
Your size bucket

- Under 80 sq ft (compact primary)
Consider the Hotel Corridor Layout, Walk-In Shower Priority, or Storage-Integrated Layout. - 80–120 sq ft (normal primary)
Look at the Split Plan, Double Vanity Wall + Separate Shower/Tub, L-Shaped Primary Bath, or Double Vanity + Private Toilet Room. - 120+ sq ft (large retreat)
Explore the Open and Spacious Floor Plan, U-Shaped Luxury Layout, Wet Room Spa Layout, or “His and Hers” Separate Vanities.
Must-haves

- Double vanity is non-negotiable
Look closely at the Open and Spacious, Split Plan, Double Vanity Wall, Double Vanity + Toilet Room, and His and Hers Vanities. - Shower vs tub
- If you prefer “big shower, no tub here”, consider Walk-In Shower Priority, Wet Room Spa, or Hotel Corridor.
- If you’re “I really soak” person, consider Tub-Centered Soaking, Wet Room Spa, Open and Spacious, or U-Shaped Luxury.
- Private toilet room
- Yes please → Double Vanity + Toilet Room, U-Shaped Luxury, and certain Split or L-Shaped layouts.
- Fine with discreet but open → Most layouts can work as long as the toilet isn’t positioned directly in the doorway sightline.
Once you know your room size and non-negotiables, your options become much easier to narrow down. The rest are simply variations you can consider later.
Get Honest About What You Really Need From This Bathroom
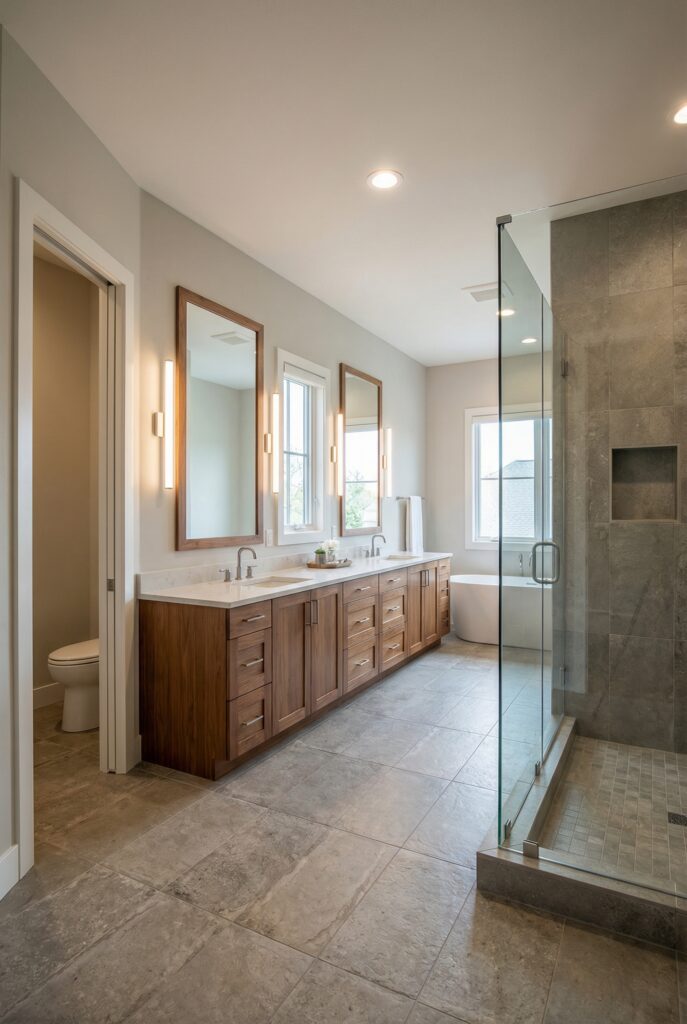
Before choosing a floor plan, think about how you actually use the bathroom on an ordinary morning. Forget the perfect spa scene for a minute. Think about the rushed mornings when everyone needs the bathroom at once and you’re trying to get ready quickly.
A successful master bathroom layout usually comes down to three things: available space, personal priorities, and plumbing limitations. Ignoring any of these can lead to a design that looks good on paper but becomes frustrating in everyday use.
Start with size
Measure the room as accurately as possible and determine which category it falls into:
- Under ~80 sq ft: a compact primary bathroom where every inch matters.
- Around 80–120 sq ft: a comfortable range where you can often accommodate double sinks, a good shower, and possibly a tub.
- 120+ sq ft: enough room to create distinct zones, increase shower size, add storage, or incorporate a soaking tub.
Then list your must-haves
Think carefully about what you genuinely need:
- Do you need two sinks, or would one work?
- Do you want a shower only or a shower and tub?
- Is a private toilet room important?
- Do you need linen storage inside the bathroom?
- Would a shower bench actually be useful?
- Are you aiming for a luxurious retreat or simply a bathroom that functions better every morning?
Try to separate genuine necessities from things that would simply be nice to have.
Finally, check your plumbing reality
Plumbing changes can quickly increase the cost of a remodel. Keeping fixtures near their existing locations can sometimes reduce the amount of work required, while completely rearranging the room may involve significantly more labor.
Consider these questions:
- Are you planning a complete renovation or mostly updating the existing arrangement?
- Could exterior walls affect windows, ventilation, or recessed storage?
- Are there plumbing lines, drains, or vents above or below the room that could affect your plans?
Sample Floor Plans With Real Dimensions
It helps to translate room measurements into actual fixture arrangements. That way, dimensions such as 8×10 or 10×12 become easier to visualize.
8×10 (about 80 sq ft)
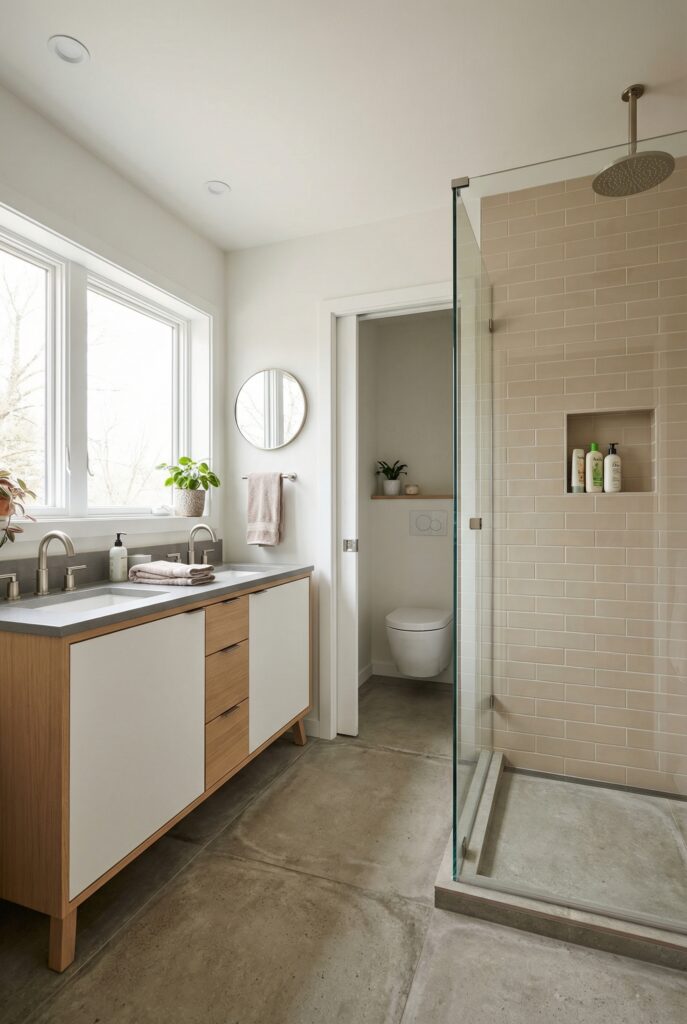
- This size can usually accommodate a single vanity or a smaller double vanity around 48–60 inches, a shower measuring roughly 36×48 to 36×60 inches, and a toilet zone with approximately 30 inches of width.
- It works particularly well for homeowners who want one highly functional bathroom and are willing to choose between a tub and a larger shower rather than squeezing both into the room.
10×10 (about 100 sq ft)
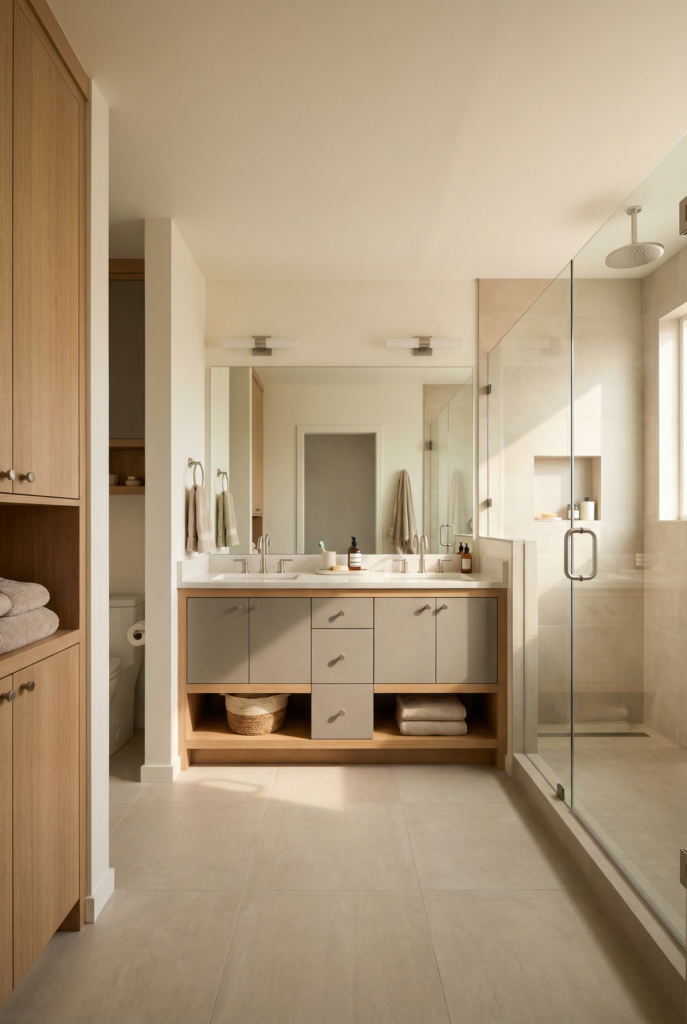
- This footprint can often accommodate a 60–72 inch double vanity, a separate shower around 42×60 inches, and either a smaller tub or additional tall storage.
- It’s a useful size for a shared primary bathroom where you want separate areas without turning the room into a full-scale spa.
10×12 (about 120 sq ft)
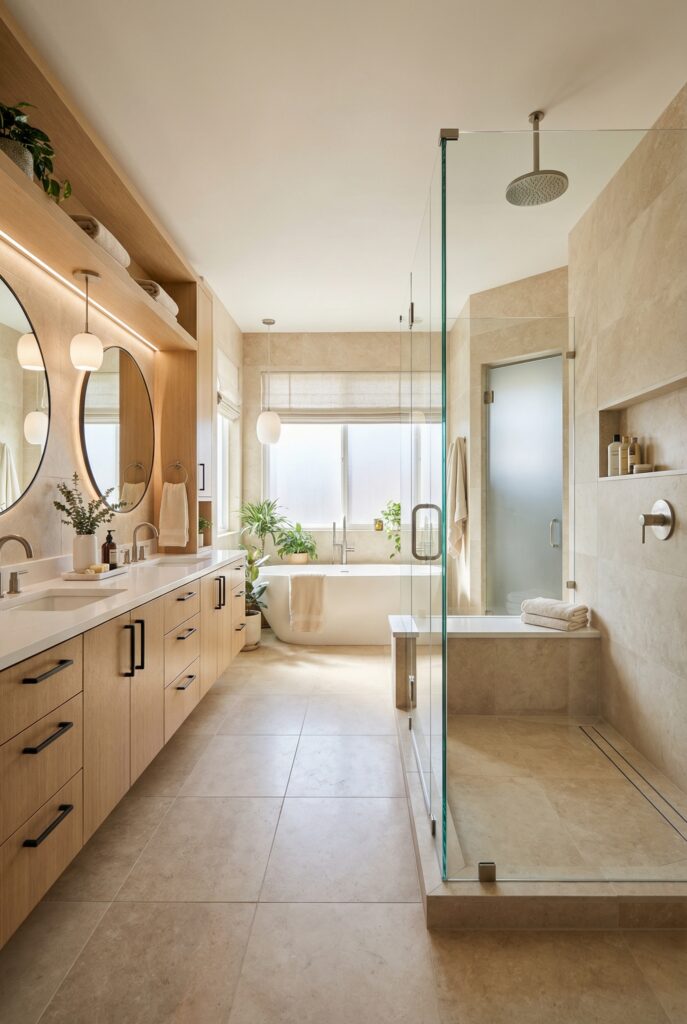
- A room this size can provide space for a larger double vanity, a generous walk-in shower, a soaking tub, and a toilet nook or enclosed toilet area.
- It gives you more freedom to experiment with U-shaped, L-shaped, or wet-room designs without making the room feel overcrowded.
Golden Rules And Spacing For A Layout That Actually Feels Good
You don’t need to memorize every building regulation to plan a bathroom, but you should understand the basic clearances that influence comfort and usability.
Here’s a practical planning guide:
| Area / fixture | Comfortable target | Typical minimum often used* |
|---|---|---|
| Clear space in front of sink | 30 in or more | ~21–24 in |
| Clear space in front of toilet | 30 in or more | ~21–24 in |
| Clear space in front of tub | 30 in or more | ~21–24 in |
| Shower entry clear space | 30 in or more | ~24 in |
| Toilet centerline to side wall | 18 in recommended | 15 in minimum |
| Separate toilet room size | 36×66 in recommended | 30×60 in minimum |
*Always confirm the requirements that apply in your location with the relevant building authority or inspector. These figures are planning guidelines rather than legal requirements.
A useful way to test your floor plan is to imagine a roughly 30-inch movement zone in front of each major fixture. If several of these areas overlap heavily, the bathroom may feel much tighter once you add cabinets, doors, people, and everyday items.
Master Bath Layout Personalities (Pick The One That Feels Like You)
Now we can look at the main bathroom layout styles and what each one does well in a real home.
Open And Spacious Floor Plan
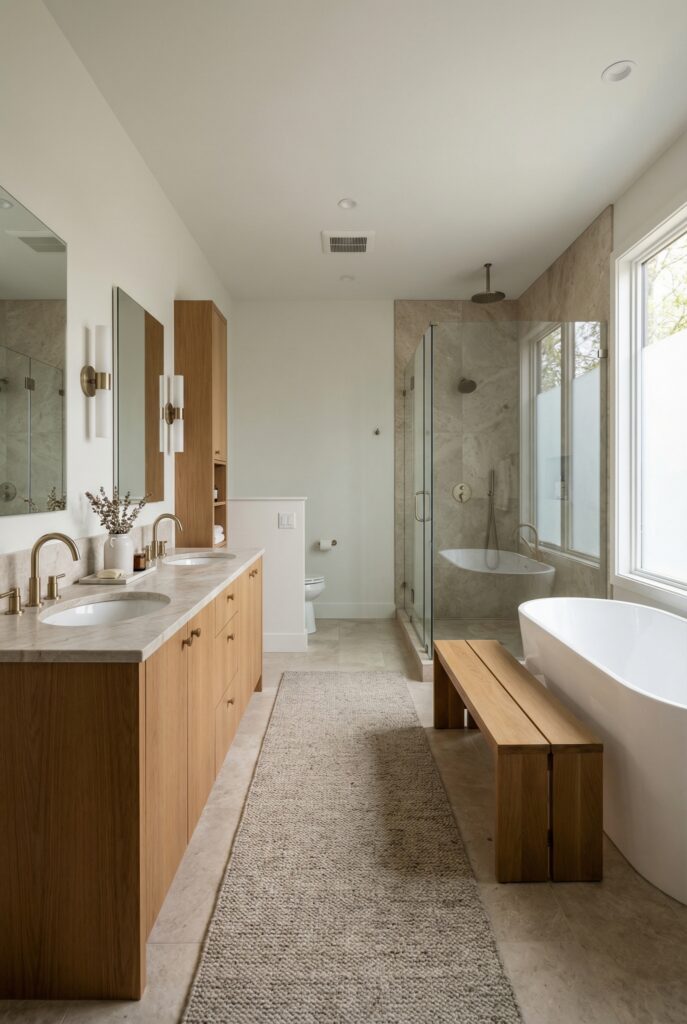
Best for: Larger rectangular bathrooms, generally around 100–140 sq ft, where you want an airy and relaxed atmosphere.
What goes where: Place the double vanity along one long wall, with the shower and tub positioned opposite or nearby. The toilet can sit toward one end behind a partial wall or enclosed area so it isn’t the first feature visible when you enter.
Why it works: The circulation is straightforward, and generous spacing between the fixtures helps the room feel calm rather than crowded.
Common mistake + fix: Leaving too much empty space between fixtures can make the room feel disconnected. Use a runner, storage tower, bench, or other intentional feature to visually tie the areas together.
Upgrade idea: Heated flooring, privacy-friendly windows, and carefully layered lighting can give the room a polished hotel-inspired atmosphere.
The Split Plan (Dry Zone / Wet Zone)
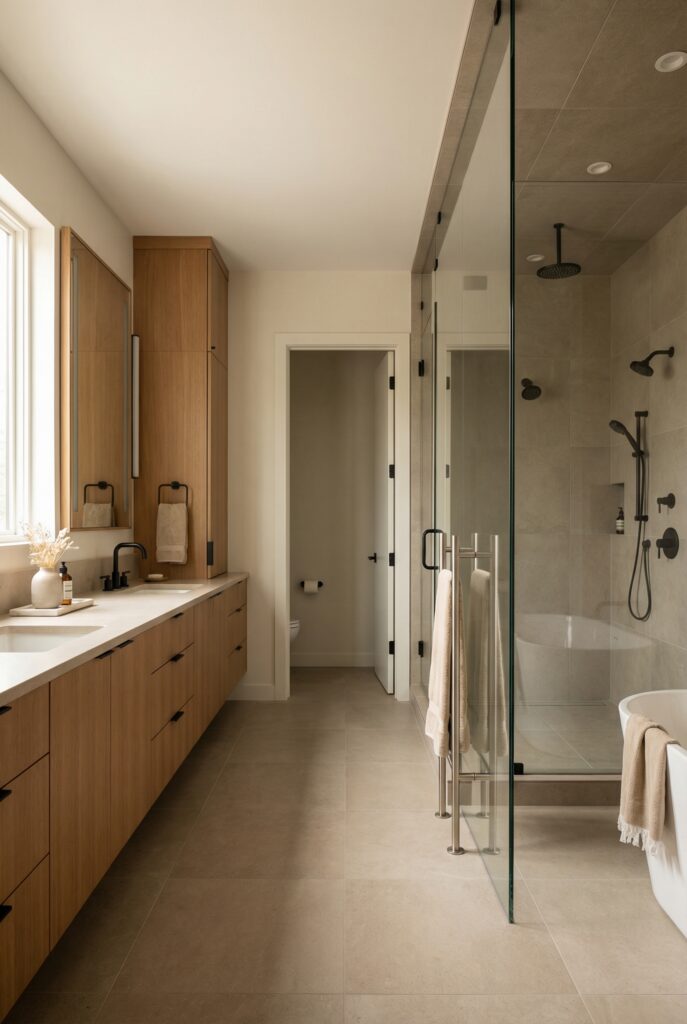
Best for: Bathrooms between roughly 80 and 120 sq ft, especially those shared by couples.
What goes where: Keep the vanity and storage near the entrance as the dry zone. A partial wall or glass divider can separate the shower and tub area. The toilet can be included in the wet zone or placed inside a compact private compartment.
Why it works: One person can use the vanity while another showers, reducing congestion and keeping moisture contained.
Common mistake + fix: Making the vanity area too narrow. If necessary, reduce some space from the wet zone so there is enough room to stand, open drawers, and move comfortably around the vanity.
Upgrade idea: Add a heated towel rail near the wet area and consider a glass enclosure or partition for better moisture control.
The Hotel Corridor Layout

Best for: Long, narrow bathrooms that are approximately 5–6 feet wide and 10–14 feet long.
What goes where: Place the vanity along one side and position the toilet and shower along the opposite side, creating a straightforward path through the room. If the room is long enough, use a partial wall or recessed area to make the toilet less noticeable.
Why it works: The arrangement makes efficient use of a narrow footprint while maintaining a clear walking route.
Common mistake + fix: Placing the toilet directly opposite the doorway. Moving it farther down the wall or using a short partition can create a much more pleasant first impression.
Upgrade idea: Add full-height storage at one end, a long runner, and a large mirror to make the narrow room feel brighter and more connected.
The L-Shaped Primary Bath
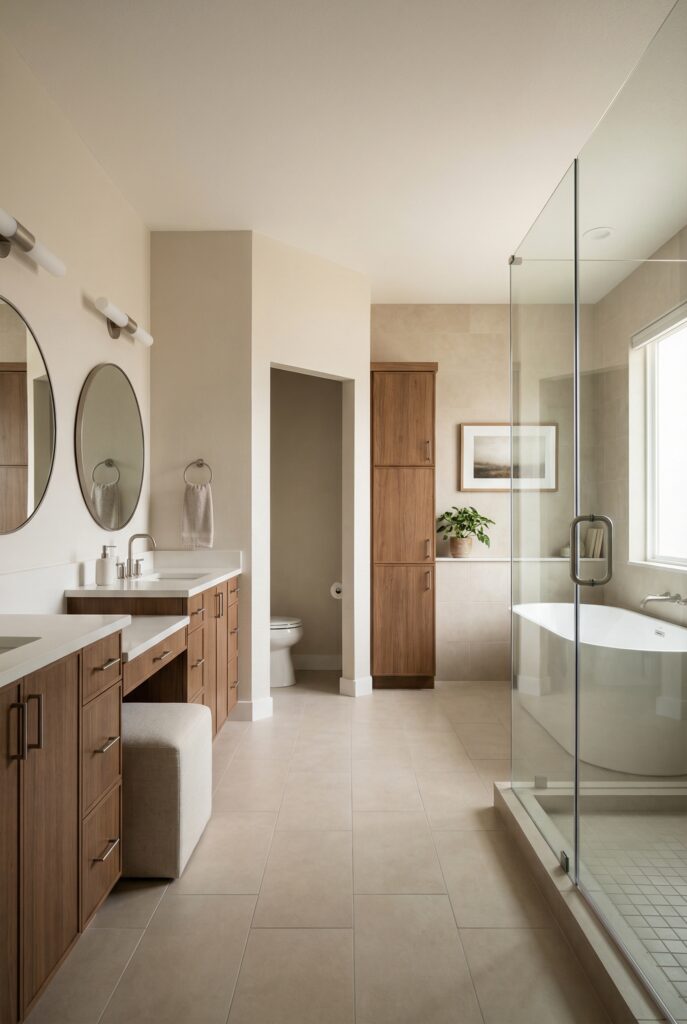
Best for: Bathrooms with an irregular footprint, a closet interruption, a window placement issue, or one section that is deeper than the other.
What goes where: Use the shorter section for the vanity, particularly near the entrance. Place the shower and tub farther around the longer section, with the toilet positioned near the corner or behind another fixture to keep it less visible.
Why it works: The shape naturally creates separate zones without requiring lots of additional walls.
Common mistake + fix: Allowing the inside corner to become an unused or poorly lit space. Add dedicated lighting, storage, shelving, or another intentional feature to make the area useful.
Upgrade idea: A seated vanity, compact storage cabinet, or decorative shelf can make the transition between the two sections feel purposeful.
The U-Shaped Luxury Layout
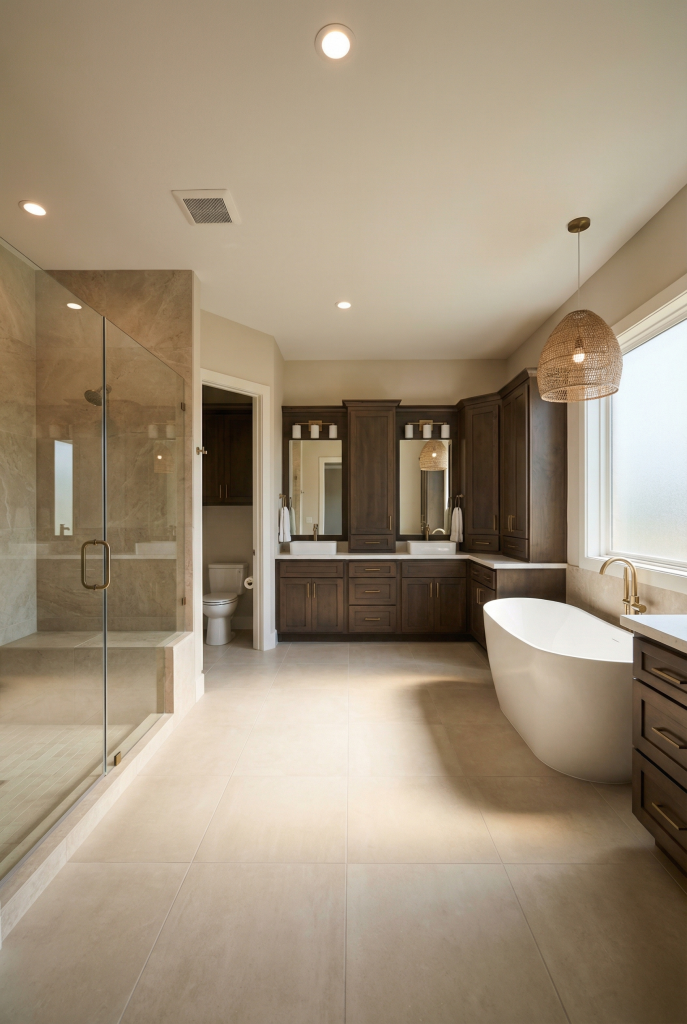
Best for: Larger bathrooms of around 120+ sq ft where you have enough room to create several dedicated zones.
What goes where: The vanity can occupy the base of the U, while the shower and tub take the two side sections. The toilet can be placed inside a nook or private compartment while leaving the center open for circulation.
Why it works: Each fixture gets its own zone, creating the feeling of a spacious primary retreat.
Common mistake + fix: Filling every available wall with fixtures and storage. Choose a few main features and leave enough open space for the room to breathe.
Upgrade idea: Position a freestanding tub beneath a window, incorporate radiant flooring, and use one statement fixture as a focal point where appropriate.
Double Vanity Wall + Separate Shower/Tub
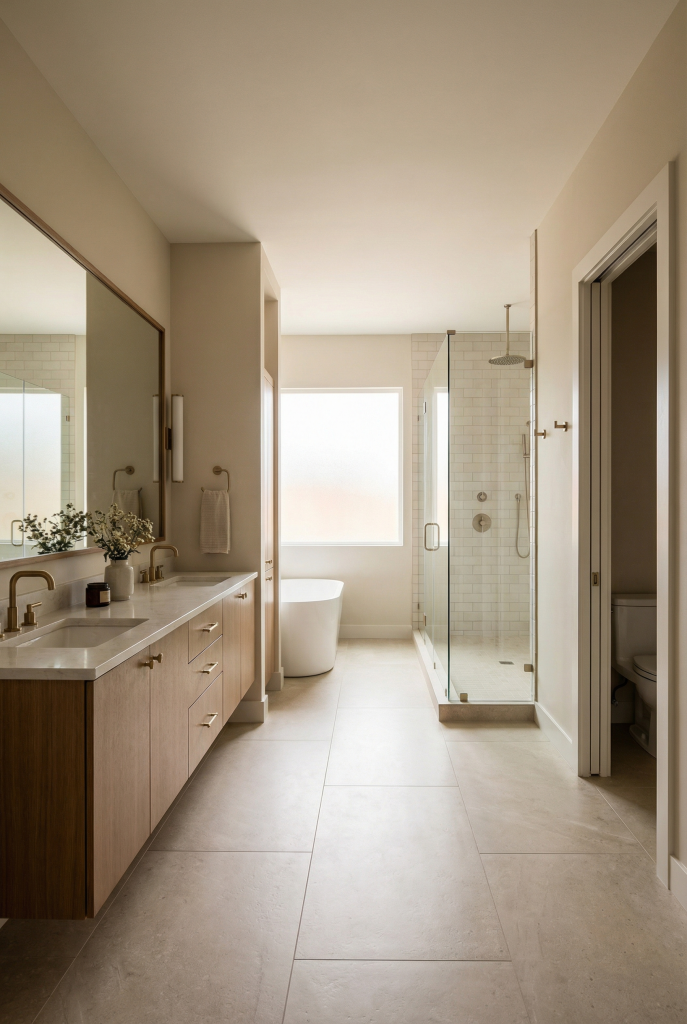
Best for: Rectangular bathrooms around 90–120 sq ft where you want a substantial vanity along with a comfortable shower.
What goes where: Use one long wall for a 60–72 inch or larger double vanity. Place the shower and tub on the opposite or adjacent wall, while keeping the toilet toward one side or inside a less prominent nook.
Why it works: Keeping several plumbing fixtures relatively close together can simplify the overall plan while creating a clean visual arrangement.
Common mistake + fix: Installing two oversized sinks and leaving almost no counter space. Slightly smaller sink bowls can give you more usable surface area for everyday items.
Upgrade idea: A furniture-style vanity, recessed medicine cabinets, and coordinated hardware can make the bathroom feel both practical and refined.
Double Vanity + Private Toilet Room
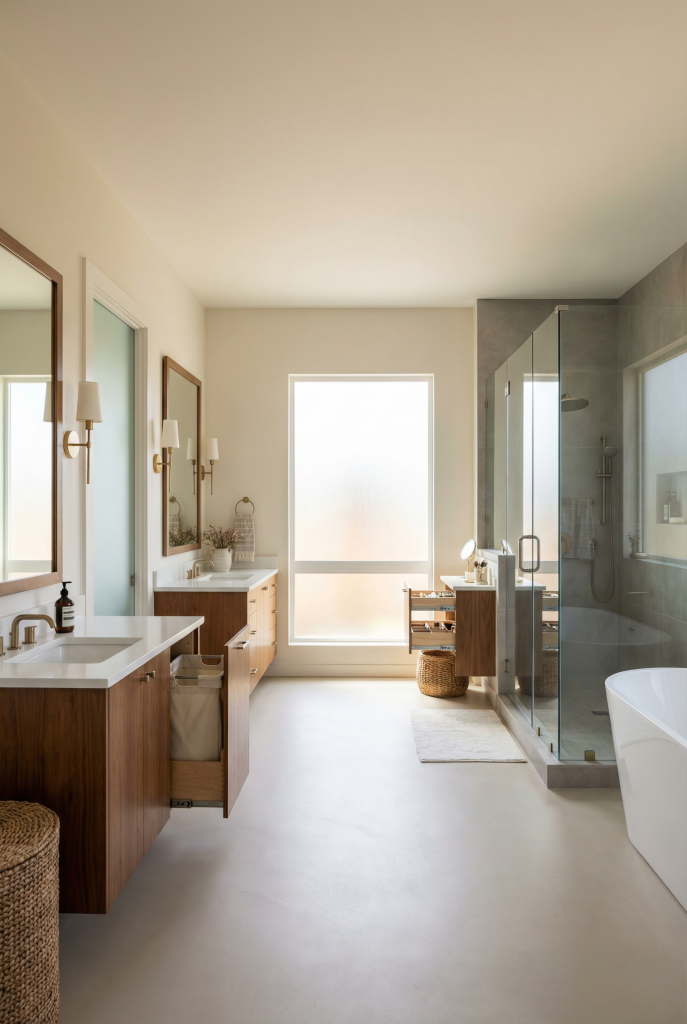
Best for: Homeowners who prioritize privacy and households where multiple people use the bathroom throughout the day.
What goes where: Keep the double vanity and shower in the main bathroom while enclosing the toilet in a separate room measuring around 3×5 feet or larger when possible. Include proper ventilation and useful storage.
Why it works: One person can use the toilet privately while someone else continues using the vanity or shower.
Common mistake + fix: Making the toilet compartment so small that it feels uncomfortable. Allow enough width for movement and make sure ventilation is properly addressed.
Upgrade idea: Add a narrow storage shelf, soft-close door hardware, and simple decorative details to make the small room feel intentional.
Walk-In Shower Priority (No Tub)
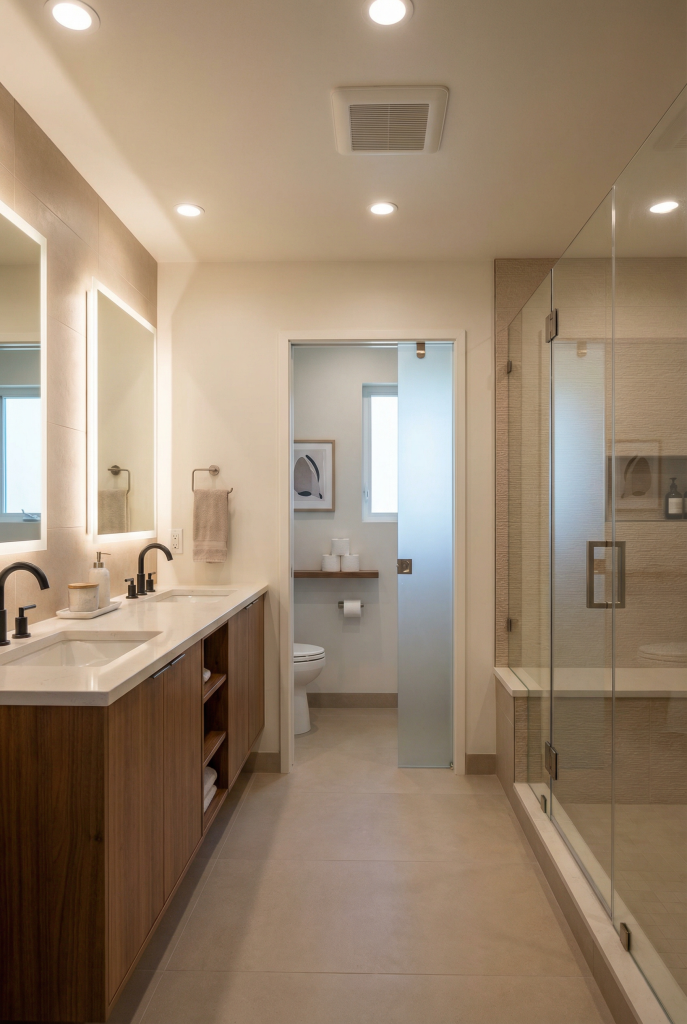
Best for: Small and medium-sized bathrooms where a bathtub isn’t important and you would rather have one excellent shower.
What goes where: Give the walk-in shower the largest share of the bathing space, potentially around 3×5 feet or larger. Add a practical vanity and enough storage, while positioning the toilet away from the direct doorway view.
Why it works: If you rarely use a bathtub, replacing it with a larger shower can provide more useful daily space and easier access.
Common mistake + fix: Removing the only bathtub in the home without considering future buyers. If there is no other tub elsewhere, think carefully before committing to a shower-only design.
Upgrade idea: Combine a fixed showerhead with a handheld fixture, and consider additional shower features if they fit your budget and maintenance preferences.
Tub-Centered Soaking Layout
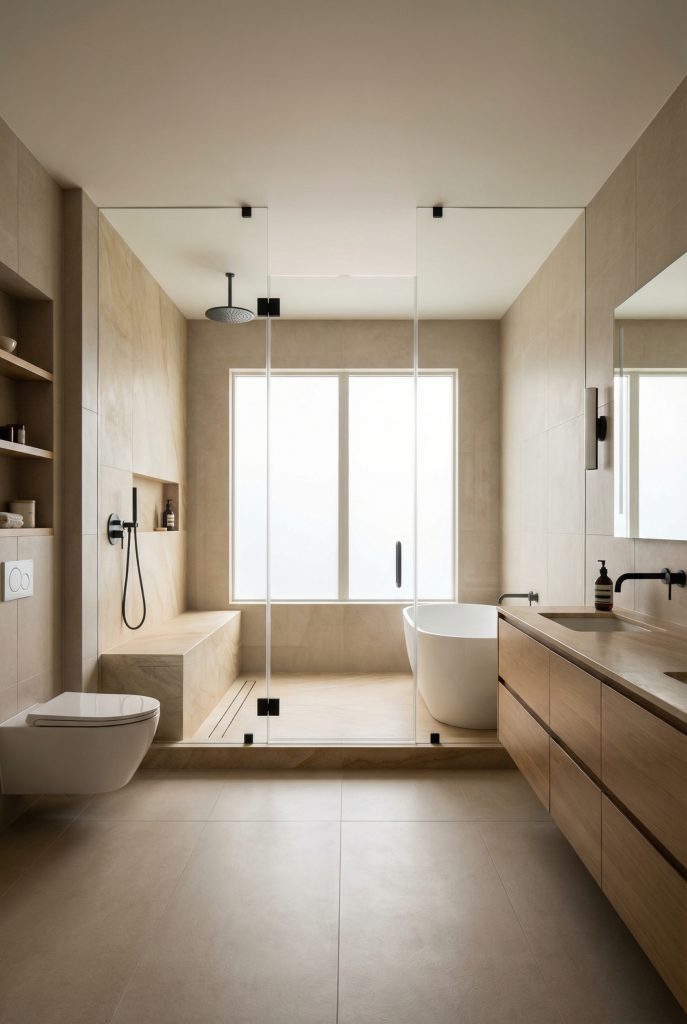
Best for: Homeowners who regularly take baths and want the tub to be the main visual feature.
What goes where: Give the tub a prominent location, such as beneath a window or along the far wall. Position the shower nearby, use the remaining wall space for the vanity, and keep the toilet in the least noticeable area.
Why it works: The tub becomes an intentional focal point and gives the bathroom a relaxing, spa-like character.
Common mistake + fix: Choosing an oversized tub while sacrificing shower comfort. Make sure the shower remains large enough for everyday use before increasing the tub size.
Upgrade idea: Add recessed shelves, adjustable lighting, and a small ledge or table for bath essentials.
Storage-Integrated Layout
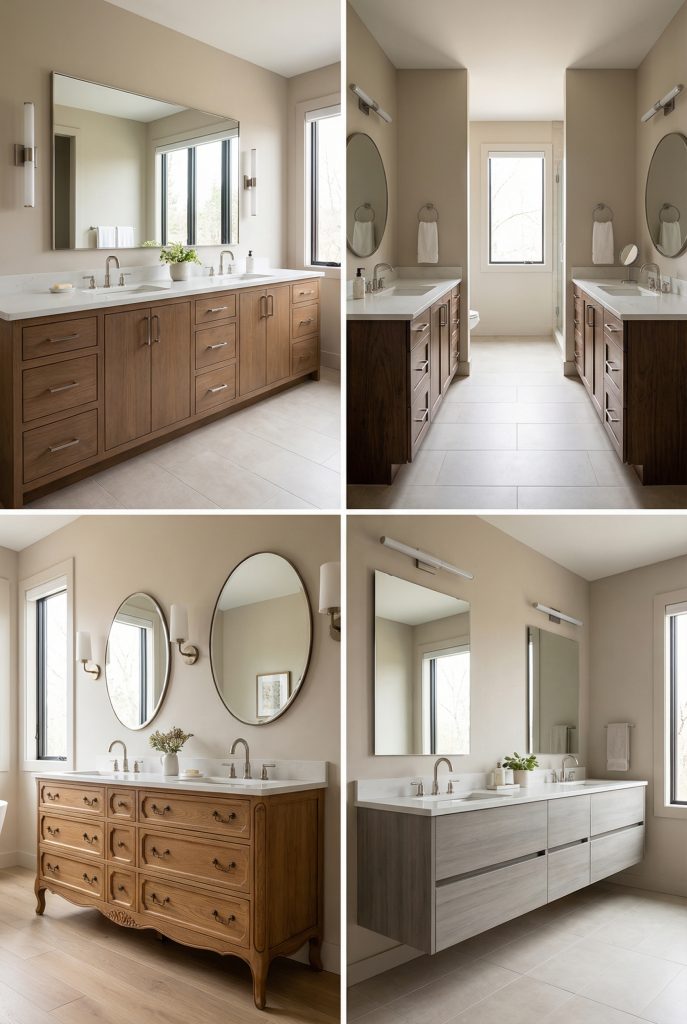
Best for: Any bathroom size where keeping clutter under control is a major priority.
What goes where: Incorporate storage throughout the bathroom with tall cabinets, recessed medicine cabinets, shower niches, toe-kick drawers, and built-in laundry hampers. The basic fixture arrangement can follow whichever layout best suits the room.
Why it works: When storage is designed into the floor plan, countertops remain clearer and everyday cleaning becomes easier.
Common mistake + fix: Waiting until the end to figure out storage. Decide where towels, toiletries, cleaning products, toilet paper, and other essentials will live before finalizing the layout.
Upgrade idea: Add hidden electrical outlets inside cabinets for grooming tools and narrow pull-out storage for taller bottles.
Once one layout family clearly suits your space and lifestyle, stick with it as your starting point. You can refine the details without repeatedly redesigning the entire bathroom.